Written instructions;
Continue reading “Creating a Hue Wheel in Photopea”Free hue wheel download
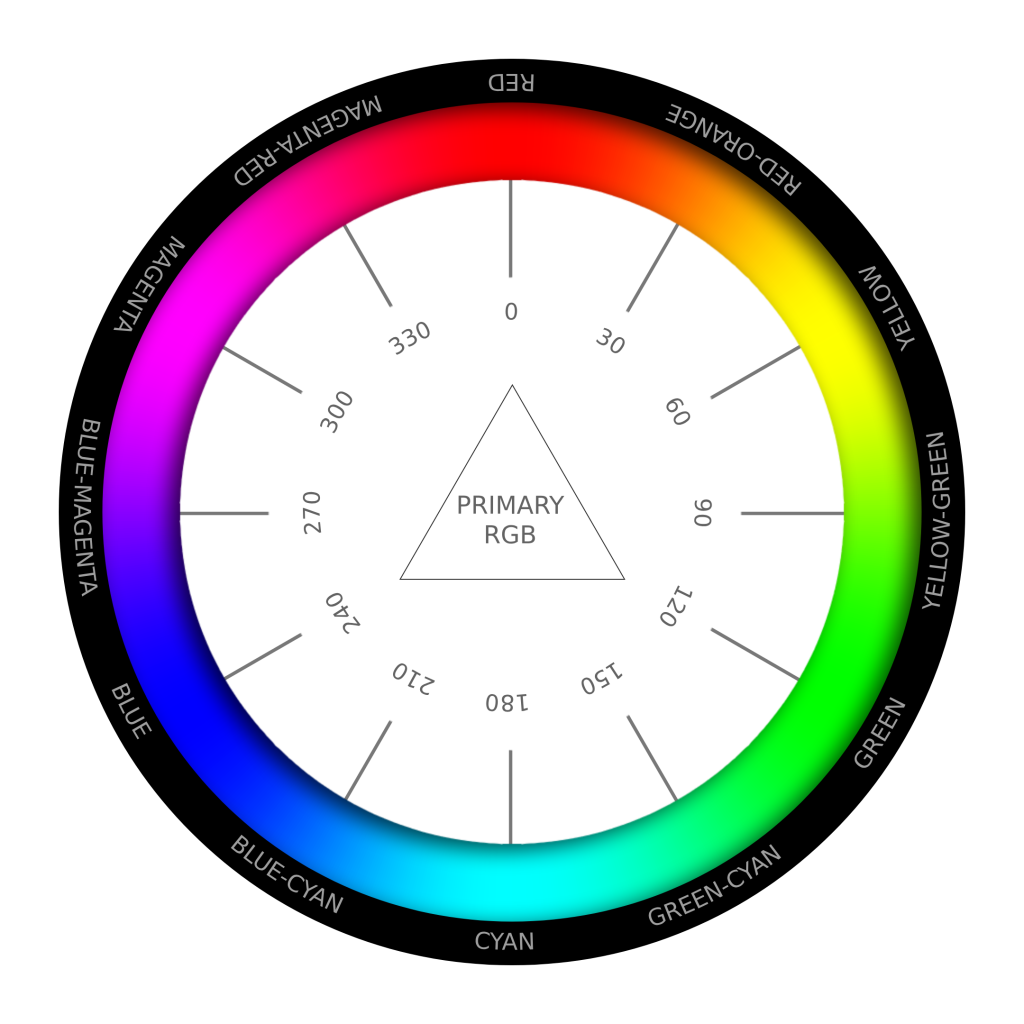
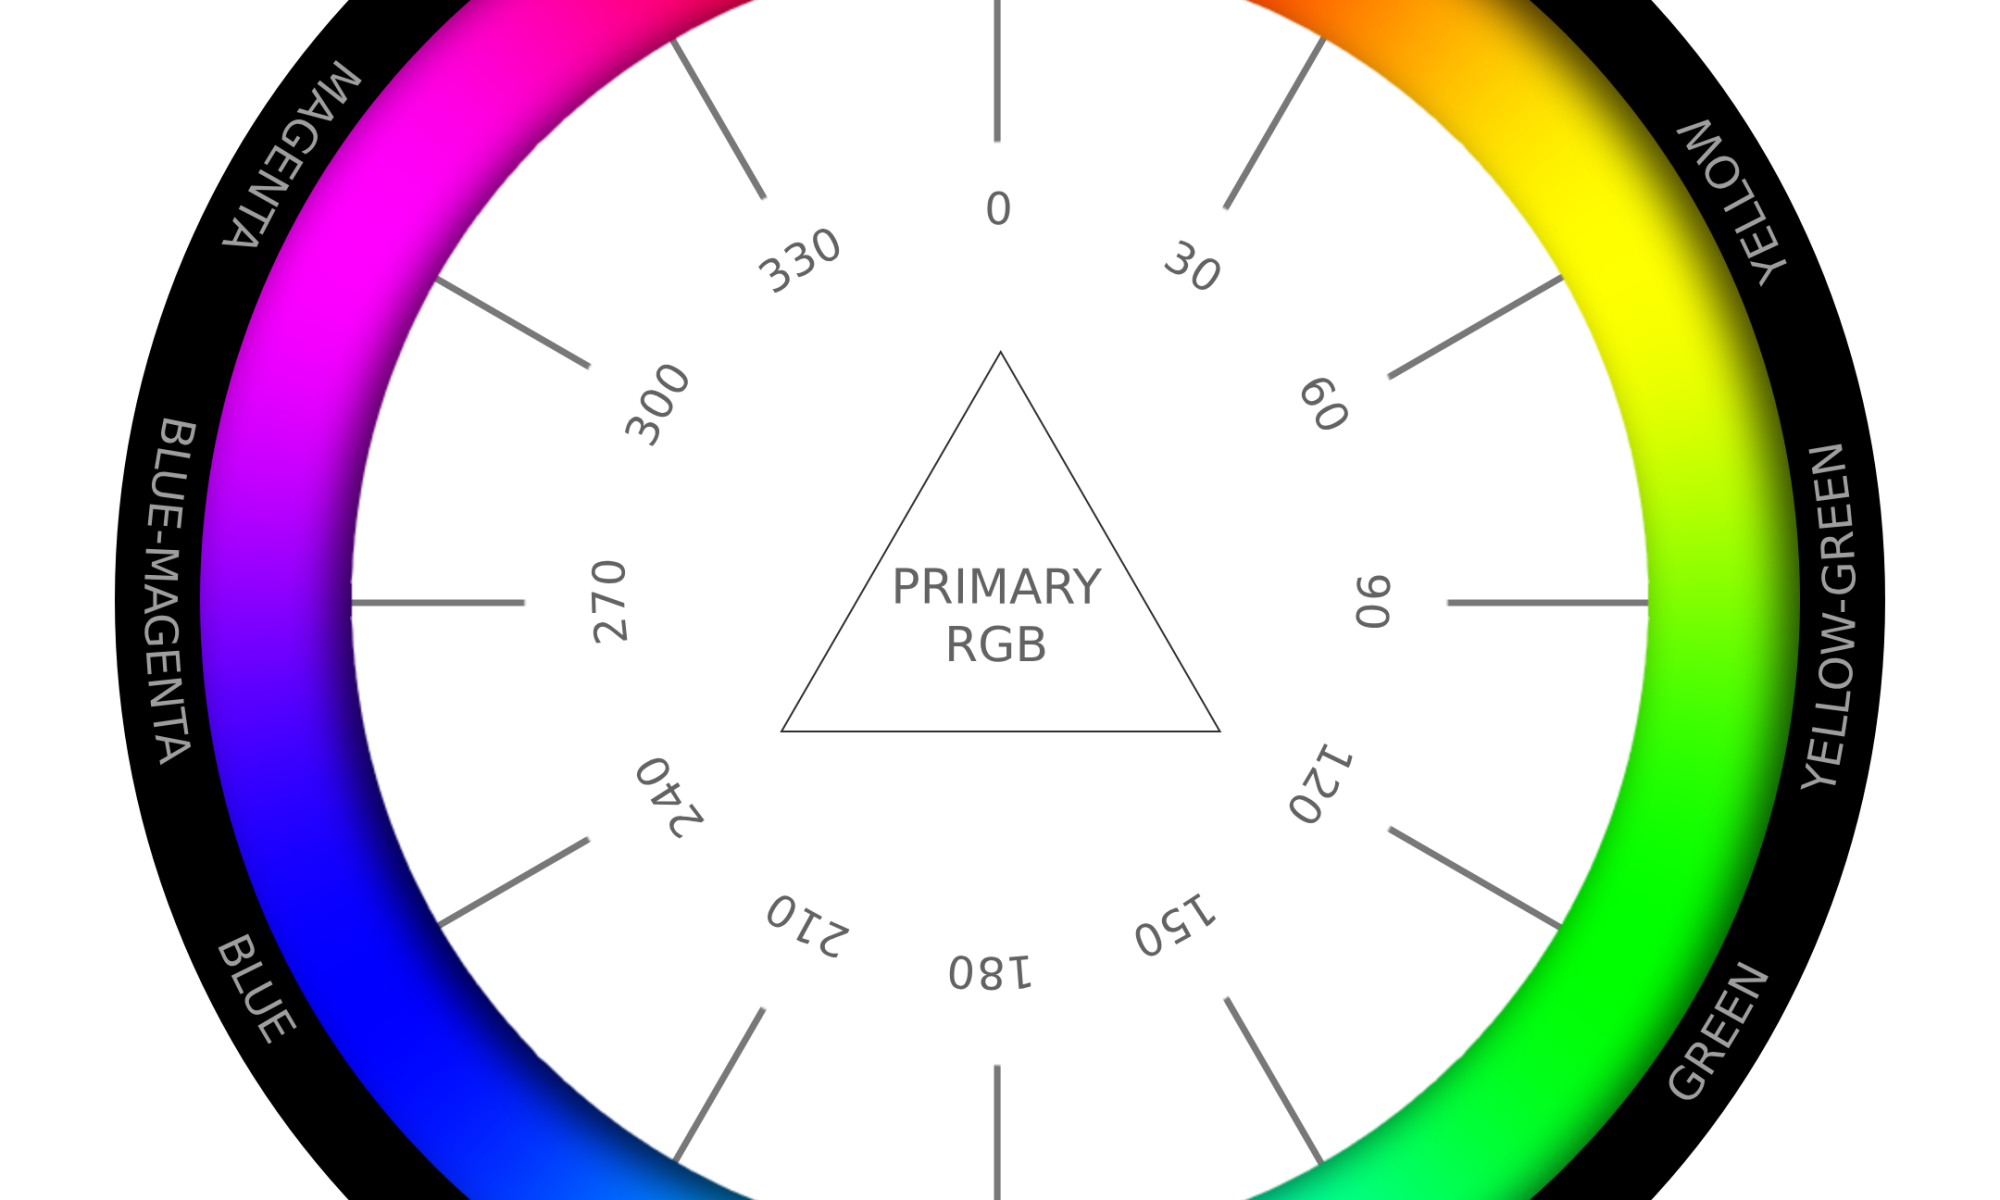
If you are looking for a hue wheel chart with named hues that you can download, you have come to the right place. Here you go. It has alpha transparency too. Stay tuned for a tutorial on how to create such hue wheel in a graphics program.
If you need the PSD, get it here for a dollar: https://ecationary.gumroad.com/l/bwjgh

Construct 3 Spritefonts with Photoshop
Creating your own Spritefonts (sometimes also called bitmap fonts) for Scirra’s Construct 3 game engine using Photoshop can be surprisingly tricky. The main difficulty seems to be in creating a grid of evenly spaced characters so that the automatic Sprite font slicing mechanism in Construct can slice them up properly. A monospace font makes this much more simple since all the characters will take up the same space by default, but monospace fonts are quite limiting stylistically. What if you want to have non-monospaced fonts neatly organized in a grid for Construct?
There are helpful tools like “Give Your Fonts Mono” which can convert a regular font into a sprite font and it even generates the spacing data for Construct 3 which you paste into the Spritefont plugin settings. The spacing data looks typically something like this;
[[20,” “],[9,”l|”],[10,”Ii.,;:!'”],[16,”`”],[17,”[]”],[18,”j”],[20,”()”],[21,”t”],[22,”1-\”\/°”],[23,”r”],[25,”f”],[26,”*”],[31,”J”],[33,”u”],[34,”hkns”],[35,”Ldq”],[36,”bcgpz03789?”],[37,”Favy256+=$<>”],[38,”eox4~”],[40,”£”],[42,”BEP#€”],[44,”HNSTUZ_”],[45,”K”],[46,”D&”],[48,”R”],[49,”C”],[50,”VXY”],[51,”AG”],[52,”MO”],[53,”Q”],[54,”mw”],[58,”%”],[69,”W”],[70,”@”]]
You can’t however do any fancy stuff like giving your characters drop shadows, strokes or gradient fills etc. But there is a work around! Just save your tranparent png image from GYFM and open that in Photoshop. Then you can play with layer styles etc as long as you don’t cross the bounding box given for each character. You can increase the bounding box size in Give your fonts mono to give yourself more room. In Photoshop you might need to cut some of the rows into their separate layers for consistent gradients, but other than that this workflow should be pretty straightforward. When done in PS, simply re-save as PNG and import to Construct 3.
Unfortunately Construct doesn’t seem to support kerning at the moment so that would have to be handled with events. It’s not the easiest of programming challenges though.
Another possibility (besides custom events) might be to make a copy of the most difficult characters in the Spritefont sheet and give them special spacing rules. Then you would need to pick that special character in the situations in which your kerning looks bad. That’s also a bit hacky and tedious. So before Construct gets proper kerning support for Spritefonts, it might be best to stick to monospace Spritefonts.
Deleting colors from a forced color palette in Photoshop
This is a very specific topic, but it was hard to find information about it online, so I’ll post my findings here.
If you want to force a certain color palette on your image in Photoshop you can choose
Image –> Mode –> Indexed Color.
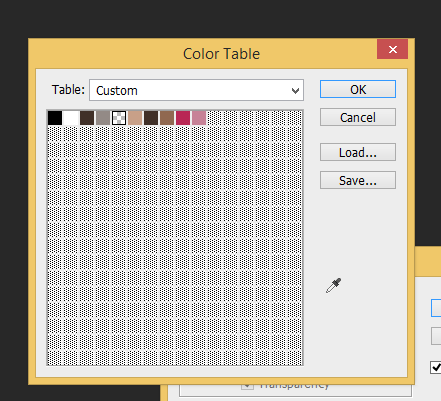
A window will pop up where you can choose a palette. If you want to create your own palette in which you select all the colors, you can do this:
Set the palette to “custom”. A color table window will open. You can delete existing colors by ctrl-clicking on them. You can add more colors by clicking an empty color slot and picking a color for it.

Here’s a quick gif-like video of creating custom color tables (ACT-files) in Photoshop and saving them for later use:
How to color match between two images in Photoshop
In this video we match the color of two different images:
Written instructions:
Continue reading “How to color match between two images in Photoshop”
Seamlessly tiling image in Photoshop
In this video tutorial we create a seamlessly tiling background image out of a normal photograph.
Written instructions:
How to create a image based blur in PS (similar to the AE effect stylize –> blur)
The video shows two different ways of blurring the highlights of an image similar to the way the Adobe After Effects blur effect works.
Continue reading “How to create a image based blur in PS (similar to the AE effect stylize –> blur)”
Create an RGB colorwheel in Photoshop (in one minute)
In this tutorial you will learn how to quickly create a standard RGB colorwheel in Photoshop.
Continue reading “Create an RGB colorwheel in Photoshop (in one minute)”
Calculating the golden proportion in Photoshop (in one minute)
This video tutorial teaches how to measure and cut the golden proportion/golden rectangle (also called divine proportion) in Adobe Photoshop. In the end we draw also the famous spiral quickly.
Continue reading “Calculating the golden proportion in Photoshop (in one minute)”
Channel based advanced selections in Photoshop in one minute
Learn how to use individual color channels in order to select complicated subjects.
Continue reading “Channel based advanced selections in Photoshop in one minute”

