- Drag and drop folders of footage into Resolve with their folder structures intact. No more creating bins in Resolve for your various footage items. The solution is to drag and drop the folder from your operating system on the area which says “Master” which is typically on the left side of the Media pool. This will automatically preserve all your folder structures.
- Auto sync audio and video files. Many professional video productions will involve separate audio files from the video. Typically you have a low quality audio track embedded to the video coming from the video camera’s microphone and then you have a high quality set of audio files recorded with a boom or lavalier. When you start to edit such a setup in Resolve, one of the first steps is to sync the high quality audio with the video. To do that, simply select both the audio and the video clips (or even just the bins containing the audio and the bins containing the video) in the media pool and right click and choose “Auto Sync Audio”. From there I prefer the “Based on waveform and append tracks” because it will keep also the original audio in place for some sanity checks. It might take a while to complete and then it will give you a summary of the results. If you closed the summary, don’t worry, you can easily see which clips were synced with the audio by looking at them on the timeline. The ones that were successfully synced, will contain two audio tracks instead of just one.
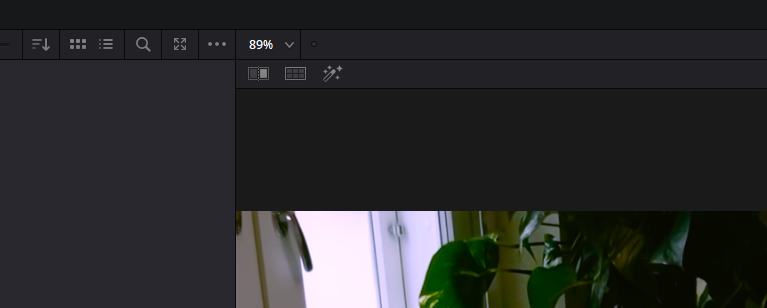
- Use the 3D qualifier for great results when doing secondary color grading. You can find it in the qualifier tab. Then just draw a stroke over the colors you want to isolate for grading. View the matte from the magic wand looking symbol above the video monitor.

4. Temporarily disable/enable snapping mid-operation with the N-key. When you are dragging a clip on the timeline and realize that the snapping preference is not working for you, you can press N to temporarily diasable or enable snapping.
5. Automatically name your exported video using the project name. If you typically export your video files from the render queue using the name of the actual project, it may be a bit annoying to type in the File Name field, since you have already typed it once when naming the project. It would be nice if Resolve could automatically suggest the project name as the export name, but in the meanwhile you can type %Project Name in the field and then hit “Add to Render Queue” to get the same result. There are other variables you can access as well like %Timeline Name and %Render Resolution. The easiest way to access the variables in to just type a % in the field and Resolve will suggest all kinds of possible variables to you. It’s enough to just type %Proj and then hit enter in order to get the Project Name variable.
